
I started with a card base of pretty cheap watercolor paper and put a layer of acrylics and glaze medium. At first was too dark (it looked like suede, though, which I liked) so I added some lighter shades and a layer of gel medium until I got this:
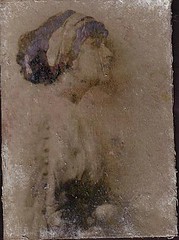
Then, I did the image transfer. This was actually my second attempt to transfer this image (the first image didn't transfer very well, which is fine because I decided I wanted it bigger anyway). Here is the image:

And here is the card after the transfer:
It's really not a very clear transfer, but for my purposes that was perfect. I like to make cards that look like I "uncovered" the photo so the fact that it looked a bit scratched and faded was fine.I put another layer of gel medium over the transfer to protect it for the next step. After that was dry, I put a layer of vaseline over the part of the image I still wanted to see, then I very lightly put a layer of school glue over the whole card and a layer of antique gold metallic paint over that for a crackle effect. This all has to be done rather carefully because you don't want the paint and the glue to mix. In the end, however, this particular card did not crackle very well, but it did sort of bubble and took on a roughed up look that I liked.

I decided that it was too gold so I used my finger to add some brown ink to sort of age the gold. I decided it need more, though, so I covered the image again with vaseline and stamped a background stamp over the whole thing with the brown and the wiped the vaselined area clean again (this trick is great if you want to go back and add something to the card but don't necessarily want it everywhere).

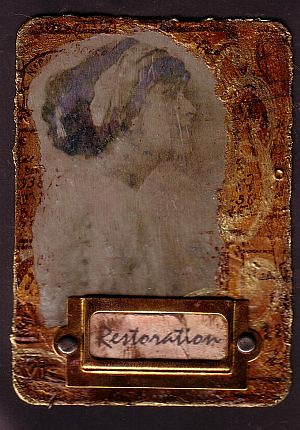
After all of that, I stamped a couple of swirls with gold ink and added the nameplate and distressed word (Restoration) to the card. I also decided that the brown edging of the card was too dark so I inked the edges with the gold. This is the final card (big photo so you can see it):
1 comment:
I check you out every day. You are awesome and I love your blog! I love your vintage cards!
Post a Comment